Home Page
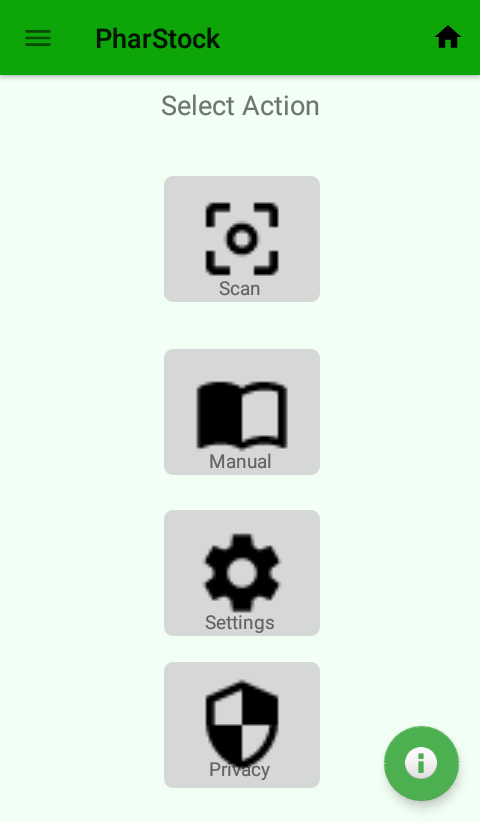
There are 4 buttons leading to the:
Stock Taking Page
Manual page
Settings Page
Privacy page.
Stock Taking Page
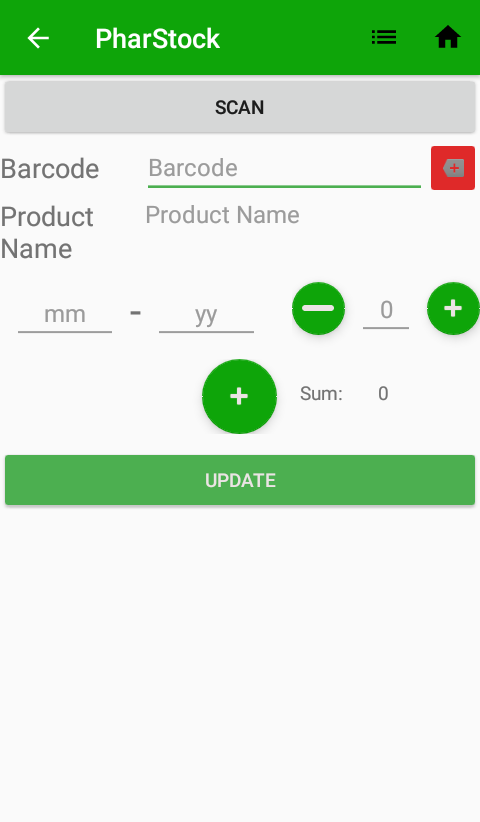
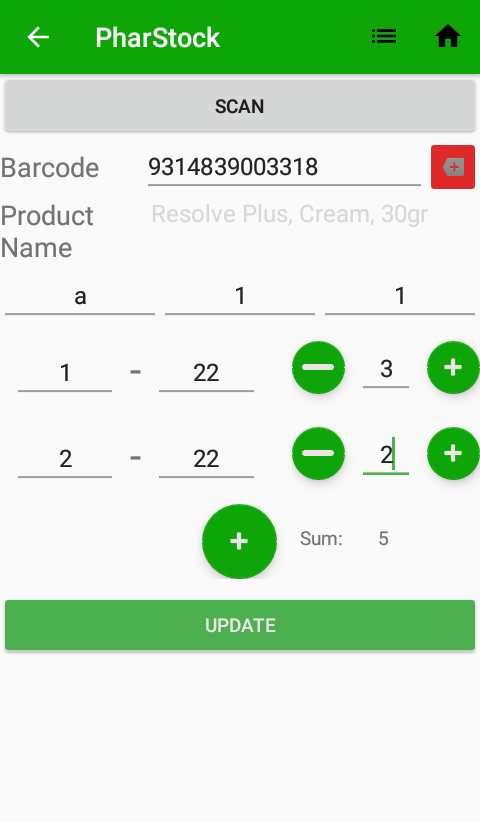
If file data have not been imported from the Import Page in Settings, this page can not be used. On the top of the page, there is a button “Scan” which explains how to proceed with the scanning. Under the button, the barcode and the name of the scanned product will be displayed after the scan. If you have selected the “section, drop, shelf” option, an extra line of fields will appear on the page.
Near the middle of the page, expiry date fields exist in mm-yy format, followed by the quantity of the product. Underneath a plus(+) button exists for the purpose of adding additional expiry dates and quantities. In case the expiry dates are left blank, the system will recognise it as the product to not have an expiry date and automatically set it to 9/99. Next to the plus(+) button, the Total Quantity of the inserted dates is automatically calculated.
In the center, an “Update” button is located. Pressing it leads to the Scan Barcode Page again while saving all the entries in a temporary place until an Export action is requested. Returning to this page after the initial scan, the “Scan” button is changed and is now displaying the previously scanned product.
On the top right corner of the Page, a home button redirects the page to the home page while the list button redirects the page to the Scanned items list page.
Settings
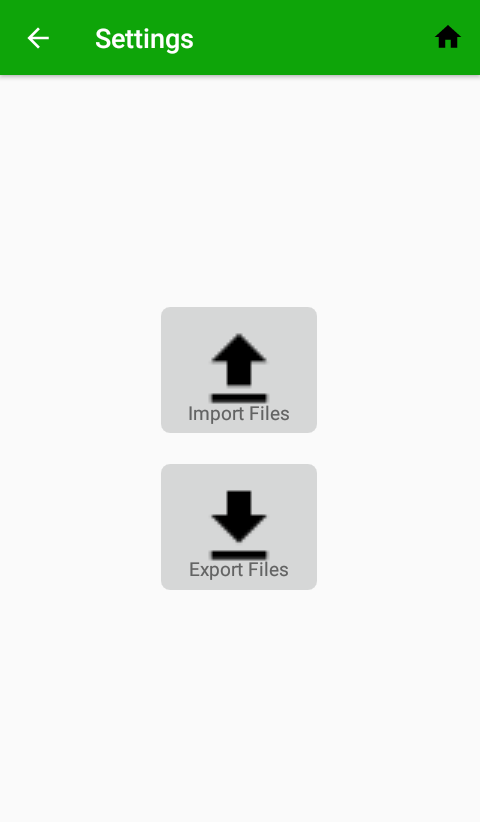
There are 2 buttons leading to the Import Settings Page and Export Settings Page respectively.
Import Settings
There are 2 buttons to choose from in order to import data.
The “server” choice requires the entry of a web address (path) to a file. For example, “www.somepagename.com/somefilename.csv”. Then, select how the separation will be done by choosing one of the options provided. When all the options are set, press the “Read File” button at the bottom of the page. If the read was successful, a button will appear that leads to the Stock Taking Page.
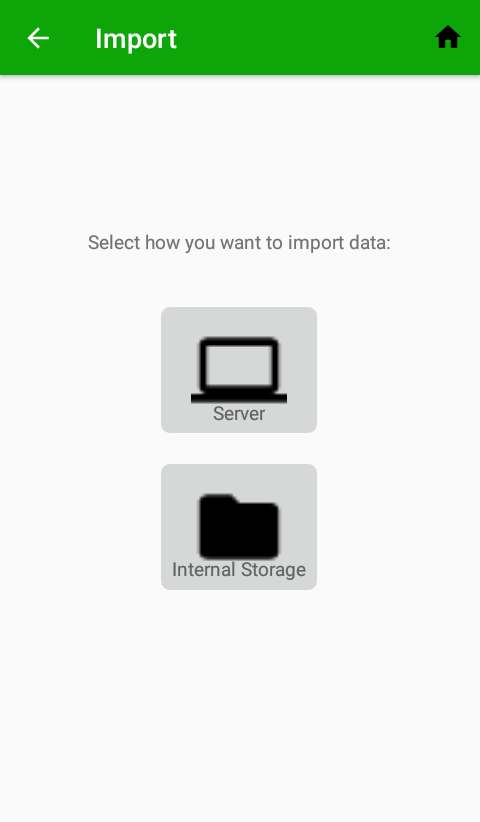
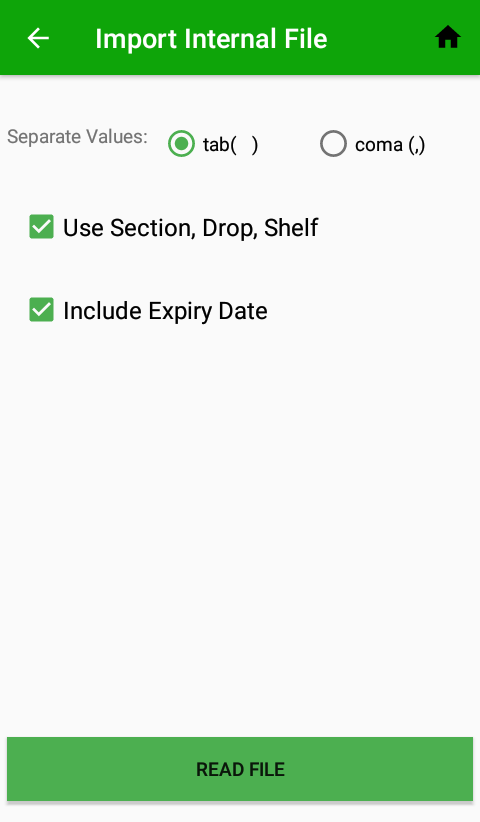
The “Internal Storage” choice opens the file navigation and awaits for the selection of a file. Then, select how the separation will be done by choosing one of the options provided. There are 2 checkboxes for adding (Section, Drop, Shelf) details and expiry dates. Keep in mind that the format of the files should be: 1st column: Barcode, 2nd column: Item Name, 3rd column: Expiry.
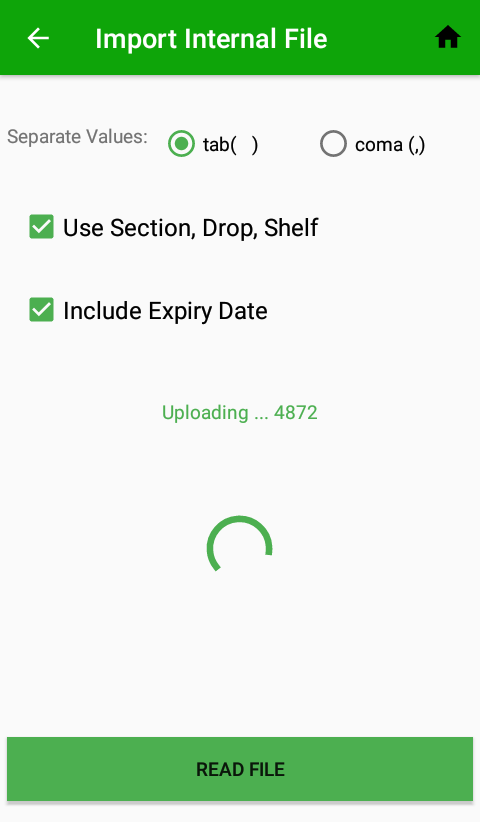
When all the options are set, press the “Read File” button at the bottom of the page. While the file is loading, a progress circle will appear along with a number, indicating the amount of records read. If the reading was successful, a button will appear that leads to the Stock Taking Page along with the relative messages on the screen.
Export Settings
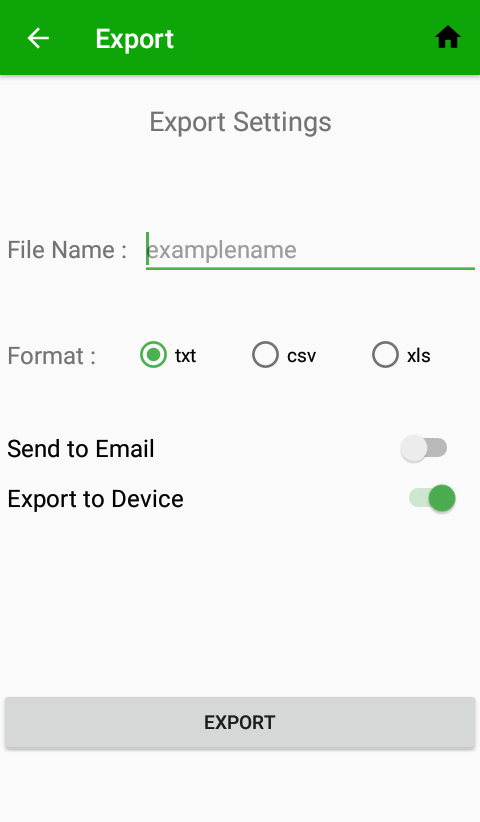
There is a field for the exported file name on the top of the page. If this field remains empty, the exported file will be named according to the date. Remember not to include the extension on the file name field.
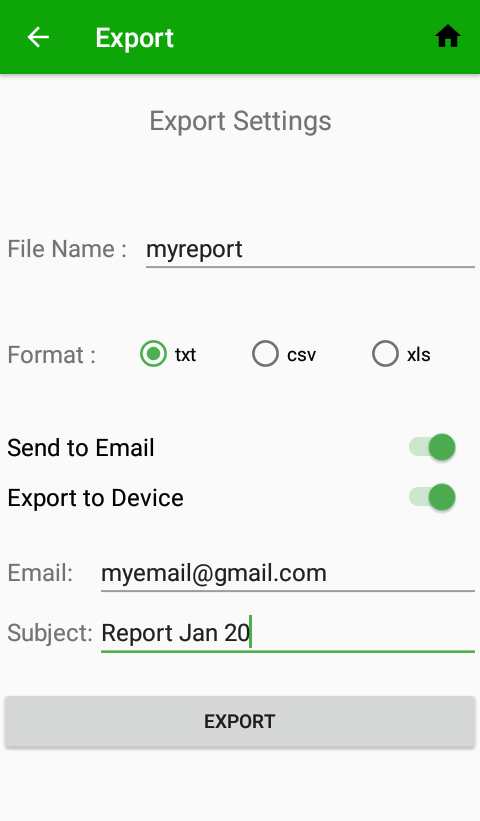
Then, select the format of the file by choosing one of the options provided. Next, select the type of output preferred. It could be one or all of the options provided. When all the options are set, press the “Export” button at the bottom of the page. If the export was successful, a success message will appear in the bottom of the page and the exported data will cease to exist on the app.
In case the email option is selected, the page redirects you to your preferred email app.
Barcodes
The available barcode formats that have been tested by our app are :
EAN8
EAN13
CODE39
CODE128
UPC_A
Data Matrix (2D code)
FAQ
From the Homepage select the Settings option, select the Import option and click on the “Internal Storage”.
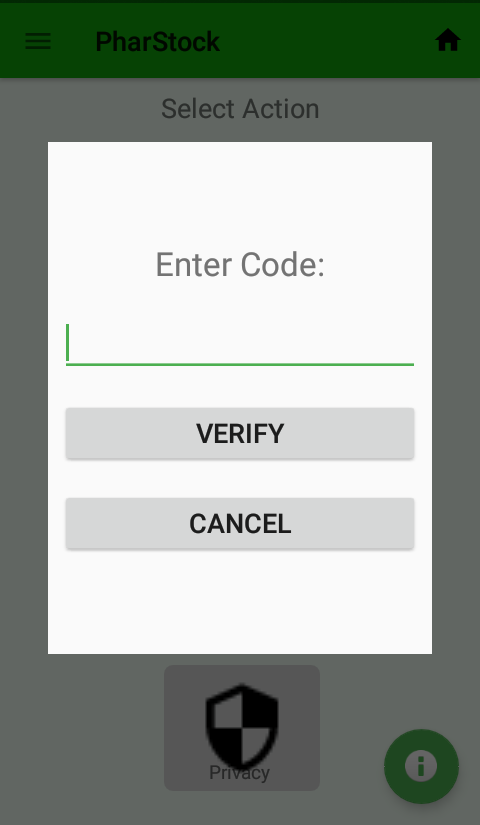
A pop up window will appear asking for the import verification code. After you have entered the code successfully, a file navigation screen opens and awaits for the selection of a file. Then, select how the separation will be done by choosing one of the options provided. There are 2 checkboxes for adding (Section, Drop, Shelf) details and expiry dates.
Keep in mind that the format of the files should be: 1st column: Barcode, 2nd column: Item Name, 3rd column: Expiry(if selected).
When all the options are set, press the “Read File” button at the bottom of the page. While the file is loading, a progress circle will appear along with a number, indicating the amount of records read. If the reading was successful, a button will appear that leads to the Stock Taking Page along with the relative messages on the screen.
In case the import was unsuccessful, make sure that the file you selected is a valid readable file and check the file format so that it matches the one mentioned above.
From the Homepage select the Scan option. Make sure the cursor is in the barcode field and then press the scan button of the PDA.
On the top of the page, there is a button “Scan” which explains how to proceed with the scanning.
Once pressed, the barcode and the name of the scanned product will be displayed after the scan. If you have selected the “section, drop, shelf” option, an extra line of fields will appear on the page. Proceed to fill in the new fields in order to successfully register the item.
Then, add expiry dates in mm-yy format, followed by the quantity of the product. If you have multiple dates for an item, press the plus(+) button for additional expiry dates and quantities. In case the expiry dates are left blank, the system will recognize it as the product not having an expiry date and automatically set it to 9/99. You can view the total quantity at the “Sum” field.
Press the “Update” button to register the current record in a temporary location. Then, the page will redirect you to the Scan Barcode Page again
so you can continue scanning items.
From the Homepage select the Scan option.
On the top right corner of the Page, press the list button to navigate to the Scanned items list page and view the scanned items details.
From the Homepage select the Scan option and navigate to the scanned items list.
Click on the item you wish to delete and press the details shown below it. A pop up message will appear asking for delete verification. Accept to delete the item.
From the Homepage, select the Settings option and click on the Export option. Enter a name (optional), a file format and choose the kind of export you wish to perform. Then press the “Export” button. Choose the folder you want to save the file in and then, if you selected the email option, select your preferred mail method to sent the file as an attachment.